Do you want to make gorgeous AI-generated images but don’t know where to begin? You can quickly create outstanding AI art using your own images and a range of styles utilizing Midjourney. We’ll guide you on how to get started with Midjourney and generate AI images in only a few clicks in this step-by-step guide. Also, here is a 15 AI image generator alternative you should check.
Generally, if you are a starter you can use this free tool in their public Discord server. The downside with this is it’s crowded and hundreds of prompts are being written in seconds and you may lose your prompt. You will have to scroll up and down to find your prompt. It can be annoying. If you don’t want to deal with this and have your own space you can subscribe to Midjourney and have a private chatbot where it will be you and only you chatting with the bot to generate your artwork.
If you are looking for a more detailed guide for using Midjourney and its commands, here it is.
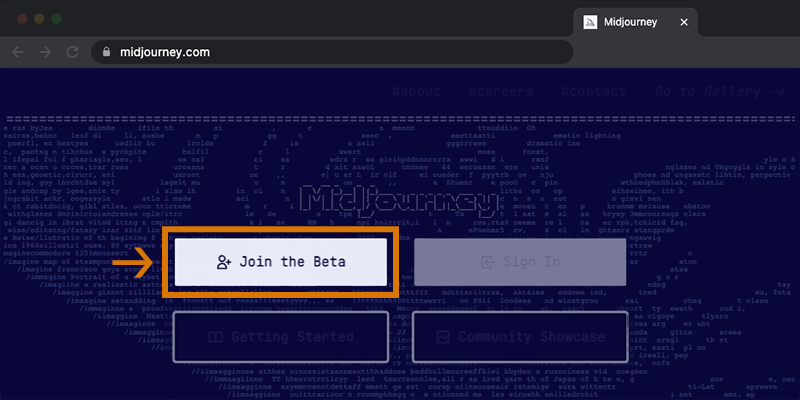
1. Join the Midjourney Discord server by going to Midjourney.com and selecting “Join the Beta,” or by going directly to the Midjourney Discord server. Before joining, you must have a Discord account.
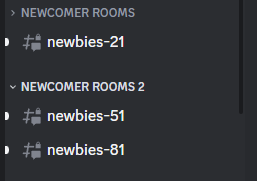
2. After you joined the Discord server, you should find a newbie channel on the Midjourney Official Server, and follow the instructions on where and how to use the bot.
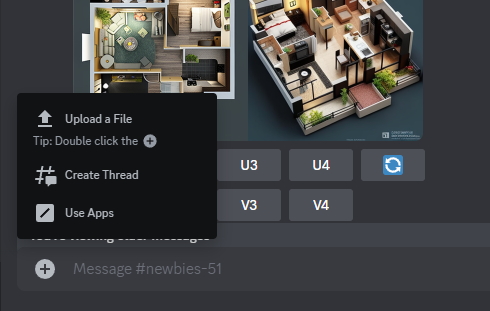
3. Use the /imagine command to generate an image from a short text description (prompt). Type /imagine prompt: or select the /imagine command from the slash commands pop-up. Type a description of the image you want to create in the prompt field. Click return to send your message.
How to get the best result in DALL-E 2? Step-by-step guide
4. Choose whether you want to upload an image or use one of the preloaded images. If you’re uploading your own image, select the image file from your computer and click on the “Upload” button.
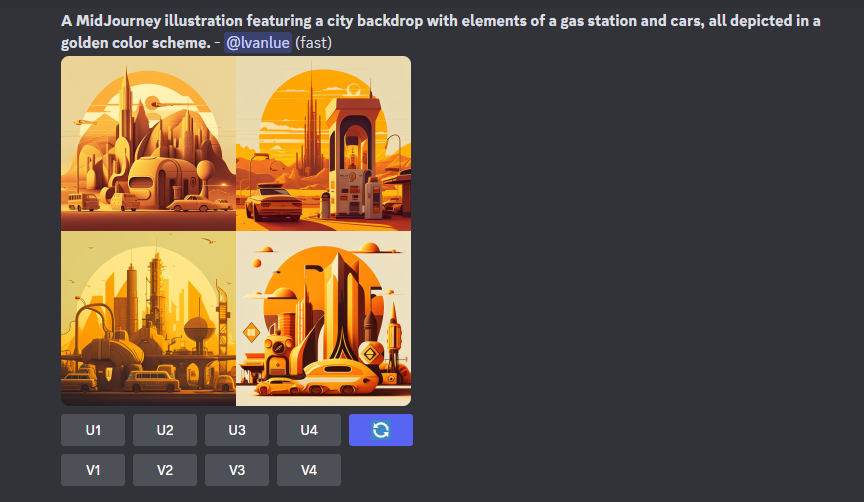
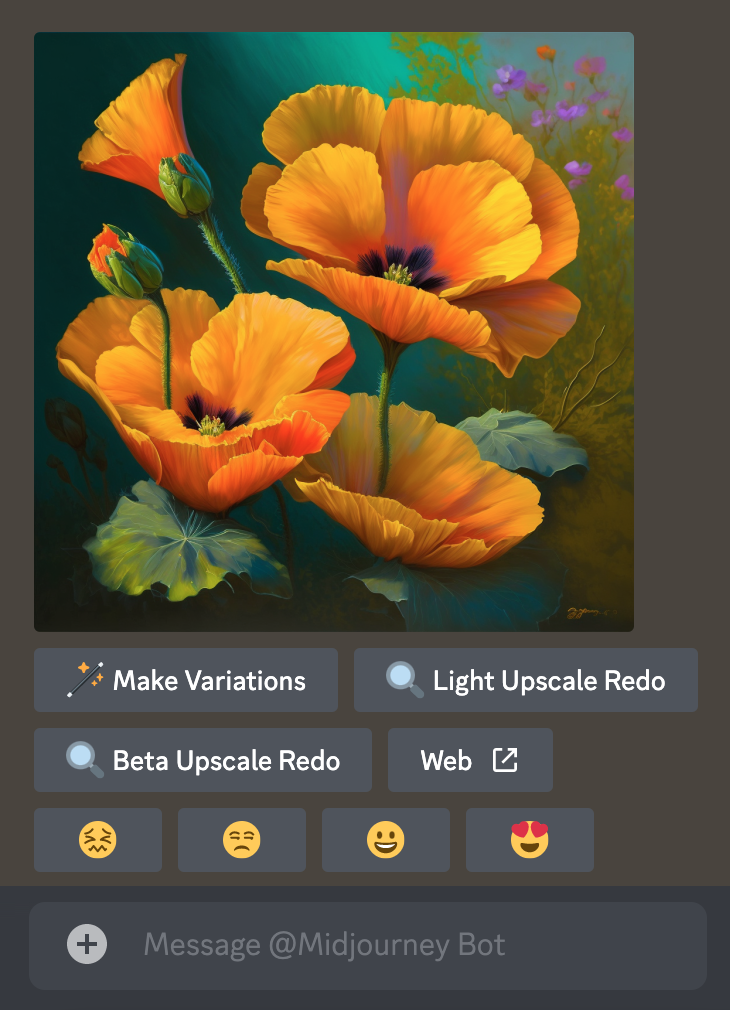
5. Wait for the Midjourney Bot to process the job, which takes about a minute. The bot will generate four image options.
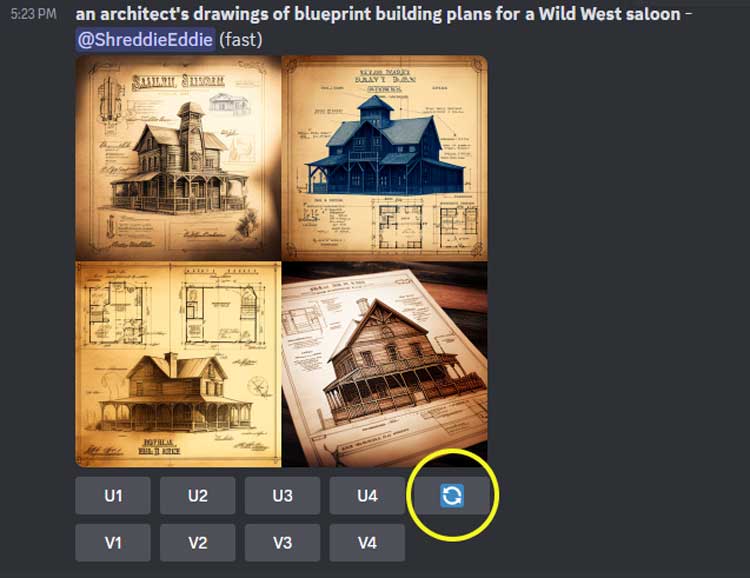
6. Upscale or create variations of the chosen image by using the U and V buttons. The ???? button can be used to rerun the original prompt and produce a new grid of images.
7. Rate the images using the smiley buttons to give feedback and receive rewards.
8. Finally, save your image by clicking on it to open it to full size, and then right-click and choose “Save image.”
Also, if you want to access the Midjourney member gallery, special channel, commercial usage, and more, you can subscribe to a plan.
Check PAACADEMY’s workshops to learn more about how architects use artificial intelligence tools such as Midjourney to design.








Keep up the great work! Thank you so much for sharing a great posts.