Parametric Architecture Masterclass by ArchAdemia
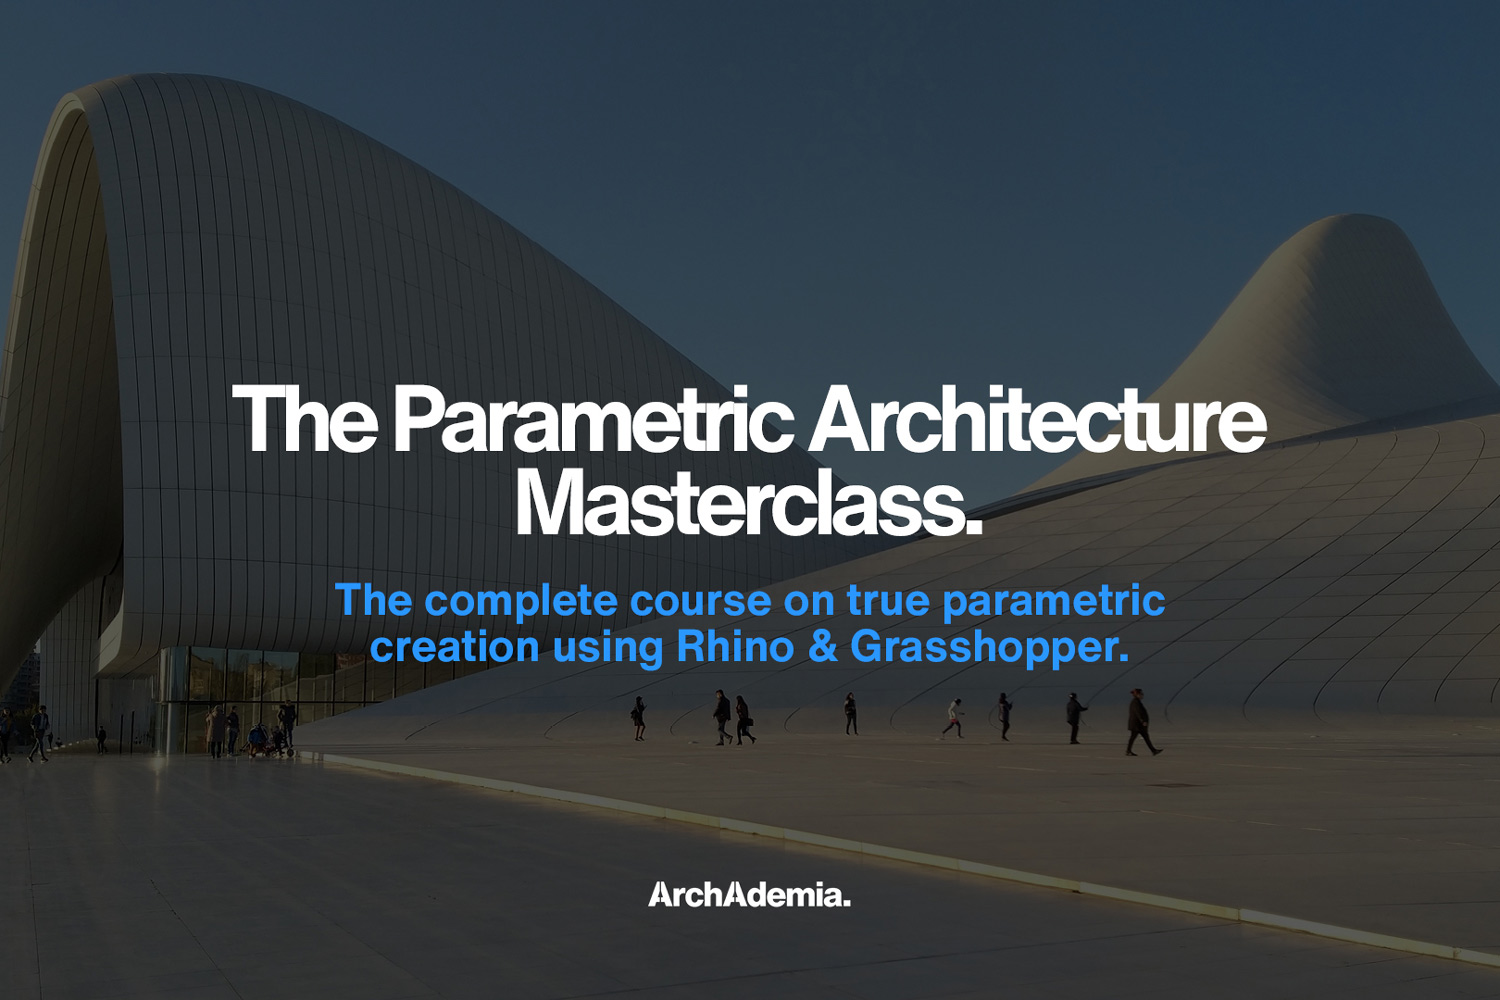
Embark on a thrilling journey into Parametric Architecture! Harness the power of industry-leading software, Rhino & Grasshopper, to recreate the architectural marvel of Zaha Hadid’s Heydar Aliyev Centre. Our 15-lesson masterclass course equips you with skills to craft your own fluid, advanced design masterpieces. Prepare to leave your audience spellbound. Step into the future of design with ArchAdemia!
What you’ll learn
Curves: You’ll learn everything there is to know about different types of curves, using NURBS, geometric continuity, and form analysis.
Surfaces: By breaking down the different types of surfaces, we give you comfort that there’s a simple way to achieve seemingly complex results.
True Parametric Design: By the conclusion of this course, you’ll understand the correct & accurate approach to parametric design from the ground up.
Complex Modelling: Unleash your potential! There won’t be a building or concept in your imagination that you’ll not be able to build after taking this course!
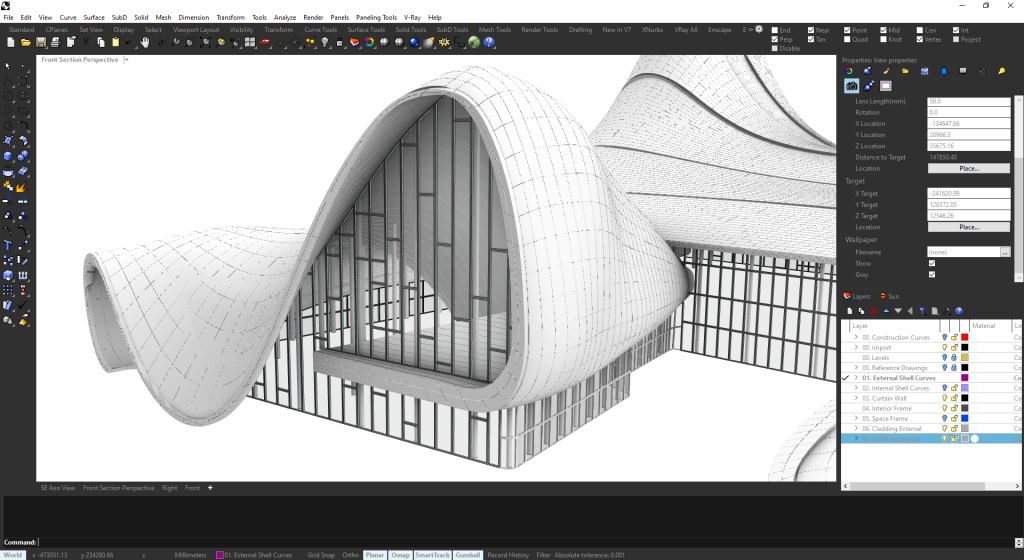
Elaborate Structures: We go beneath the skin in this lesson series, ensuring that you understand how to create parametric structures. In this example, a space frame.
Heydar Aliyev Centre: Along the way, you’ll pick up how an iconic piece of architecture is designed. In this instance, the great Zaha Hadid.
Full curriculum
Chapter 1 – Introduction to Parametric Modelling
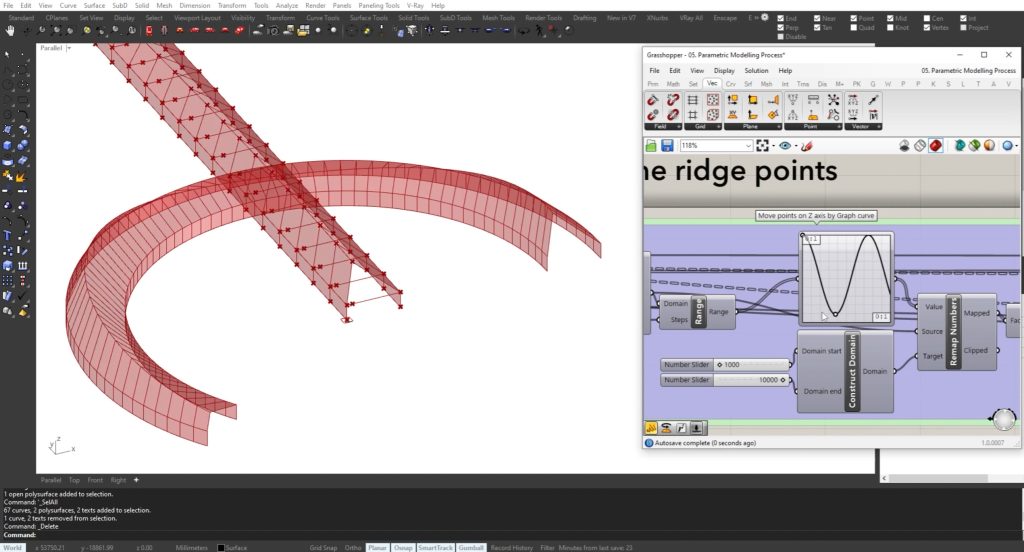
Lesson 1 – Introduction / What is Parametric Modelling (6:23): We open the masterclass course with a lesson outlining what Parametric Modelling really is and how to achieve it. We de-bunk some myths around this style of modeling and design and finish by breaking down Parametric Architecture into four key elements, setting us up perfectly to learn together in lesson 2.
Lesson 2 – Parametric Curves (26:10): One key characteristic of parametric design is the use of beautiful curves and fluid forms. The first in a short series of theoretical lessons goes into the different types of curves, using NURBS, geometric continuity, and analysis. All of this is in the aim of understanding how these different curves achieve varying results when designing something in a true parametric way.
Lesson 3 – Parametric Surfaces (14:12): In this lesson, we emphasize the importance of keeping things simple, as the potentially complex results of parametric architecture can overwhelm some. By breaking down the different types of surfaces that can be produced within Rhino & Grasshopper, we give you comfort that there’s a simple way to achieve apparently complex results, keeping your workflow efficient and adaptive to change. You’ll learn how to create some of these varying surfaces to ready you for the real-world example by Zaha Hadid.
Lesson 4 – Surface Analysis and Parameters (16:54): Getting the topology of your surfaces correct is crucial in creating free-flowing surfaces and buildings, which is the calling card of parametric design. By analyzing your surfaces through varying test methods, you can check whether you’re achieving a truly fluid piece of design. We also touch on parameters & tools to help you achieve smooth curves without harsh points and obvious seams.
Lesson 5 – Parametric Modelling Process (15:24): Before diving into the iconic Heydar Aliyev Centre by Zaha Hadid, we use a simple example to walk you through a true parametric design process using Rhino & Grasshopper side by side. Once the simple forms are in place, you’ll learn how to make quick and holistic changes using these parameters created earlier in the lesson, making it incredibly straightforward to create design options and completely varied design concepts for your projects.
Chapter 2 – Modelling the Heydar Aliyev Centre
Lesson 6 – Heydar Aliyev Centre – Building Analysis (9:44): Now the fun begins! With the theory and concepts of parametric architecture covered and understood, we dive into one of Zaha Hadid’s most famous buildings, the Heydar Aliyev Centre in Baku, Azerbaijan. The opening lesson in this chapter walks you through how this amazing building was first designed, then created using various software. We finish by introducing a few curves overlaid onto the building to set the tone for how we’re going to approach the model.
Lesson 7 – Reference Drawings (13:22): To model the building accurately, we load in a series of reference drawings to Rhino 7. We scale & position them, so we can do this stunning building justice. This lesson applies to all kinds of buildings, even your own creations as you may begin to design in 2D and wish to load your drawings in for exploration in 3D, so a lesson not to be missed and will serve you for your entire career as a designer.
Lesson 8 – Principal shell curves & curve network (16:38): In this lesson, we start to create the initial forms of the building, starting with the free-flowing, curved shell of the envelope. To achieve this, we create profile curves that are traced over the reference drawings, creating a skeleton of the building to be later ‘skinned’.
Lesson 9 – Generating the exterior shell (11:29): With the curves and overall skeletal form of the building in place, we can now create the shell as a skin. You’ll learn how to turn a series of basic curves into a full-blown shell of a building and start to analyze the surfaces of the shell to ensure it’s ready for parameters to be added to it, so we can turn the conceptual form into a recognizable building in later lessons.
Lesson 10 – Interior shell surfaces (8:37): The interior faces of Heydar Aliyev Centre aren’t quite a simple offset, as the interior curves weave in and out at varying thicknesses from the outer shell. So, to continue to honor this iconic building, we use the reference drawings to create a separate interior shell of the building as constructed.
Chapter 3 – Detailed Elements & Scripts
Lesson 11 – Curtain walling (20:30): A striking aspect of this building is the intersection of the fluid forms with the rigid, parallel forms of the curtain walling which provides the glazed areas of the project. Here, you’ll learn how to create the curtain walling perimeter within Rhino, moving into Grasshopper to create the framing, glazing, and sub-dividing mullions & transoms.
Lesson 12 – Structural elements (8:03): In this lesson, we cover the key structural elements and circulation cores, generating them parametrically using Grasshopper. Populating the interior of such a complex and fluid form would ordinarily be a tedious task, but if you approach parametric design in the correct way, it can be efficient and quick. This approach allows for design iterations and the creation of various concepts & options.
Lesson 13 – The space frame (17:08): The skin of the building is held together with a structural device known as a ‘space frame’, which is a rigid, lightweight structure made from interlocking struts in a geometric pattern. We infill the exterior and interior skins of the building with this space frame, which can be easily generated using Grasshopper and a methodical approach to parameters and scripts.
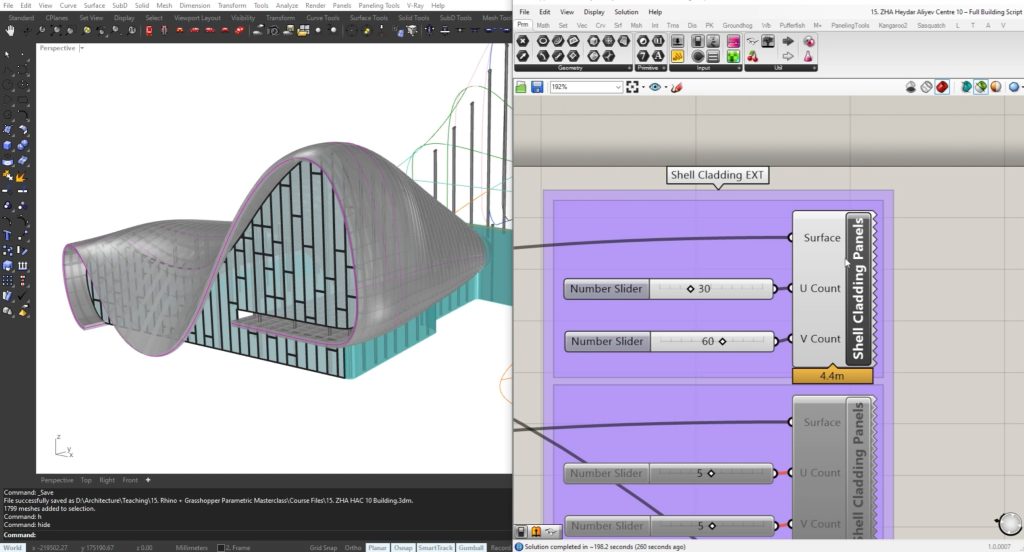
Lesson 14 – Shell cladding panels (15:20): The cladding of the building may appear simple at first glance, but if you look a little closer, you’ll see that the joints of the panels perfectly follow the topology of the structure, meaning that no two panels are identical. Creating these panels and joints, manually, would be an incredibly tiresome task! Luckily for us, we have parametric tools within Grasshopper at our disposal to easily generate these panels for a realistic, true-to-life result.
Lesson 15 – Script overview & course conclusion (2:00): We finish the course by recapping the individual lessons learned and how this yields a full building, and how you can utilize these tutorials for your own projects. We also explain how to use the scripts and models created within the course and apply them to your own work moving forward. Be sure to check out the downloads area within the course dashboard to access these files. Lastly, we have one final walk around the finished model to ensure everything is as it should be and reflect and what has been discovered & created in this parametric masterclass.
To access the masterclass course page, please click here.
Tutors
Radu Fulgheci
Senior Architect | BDP
Radu is an architect with over ten years of experience using many architectural design and modeling applications, for both professional and academic purposes. Working on challenging, high-profile projects, and international competitions, He has continually sought ways to optimize his workflow, from single to multiple applications, in order to achieve the best results in the shortest time. Understanding what each software excels at, what to use depending on the type of project and model, and how to migrate projects from one to another, has enabled him to expand his creativity, and has allowed him to always submit projects on time while also looking their best. Radu believes in constant learning, so regardless of what knowledge level you may be, there is always something new that can help you improve. He wants to teach you how to do the same.
Adam Morgan
Architectural Director | Studio RBA
Adam is the founder and director of Studio RBA, a team of 8 architects and CGI artists in the city center of Liverpool, UK. The office is experienced in a wide range of building types and procurement routes, successfully winning projects with contract values of up to £80 million. They work for a broad spectrum of public and private sector clients across the country. He has always had a passion for teaching aspiring young architects. He offers support to emerging young architects through the RIBA mentoring program and is also a visiting architectural critic and tutor for Liverpool John Moores University.
To learn more about archademia, please visit their website at archademia.com.









Leave a comment