

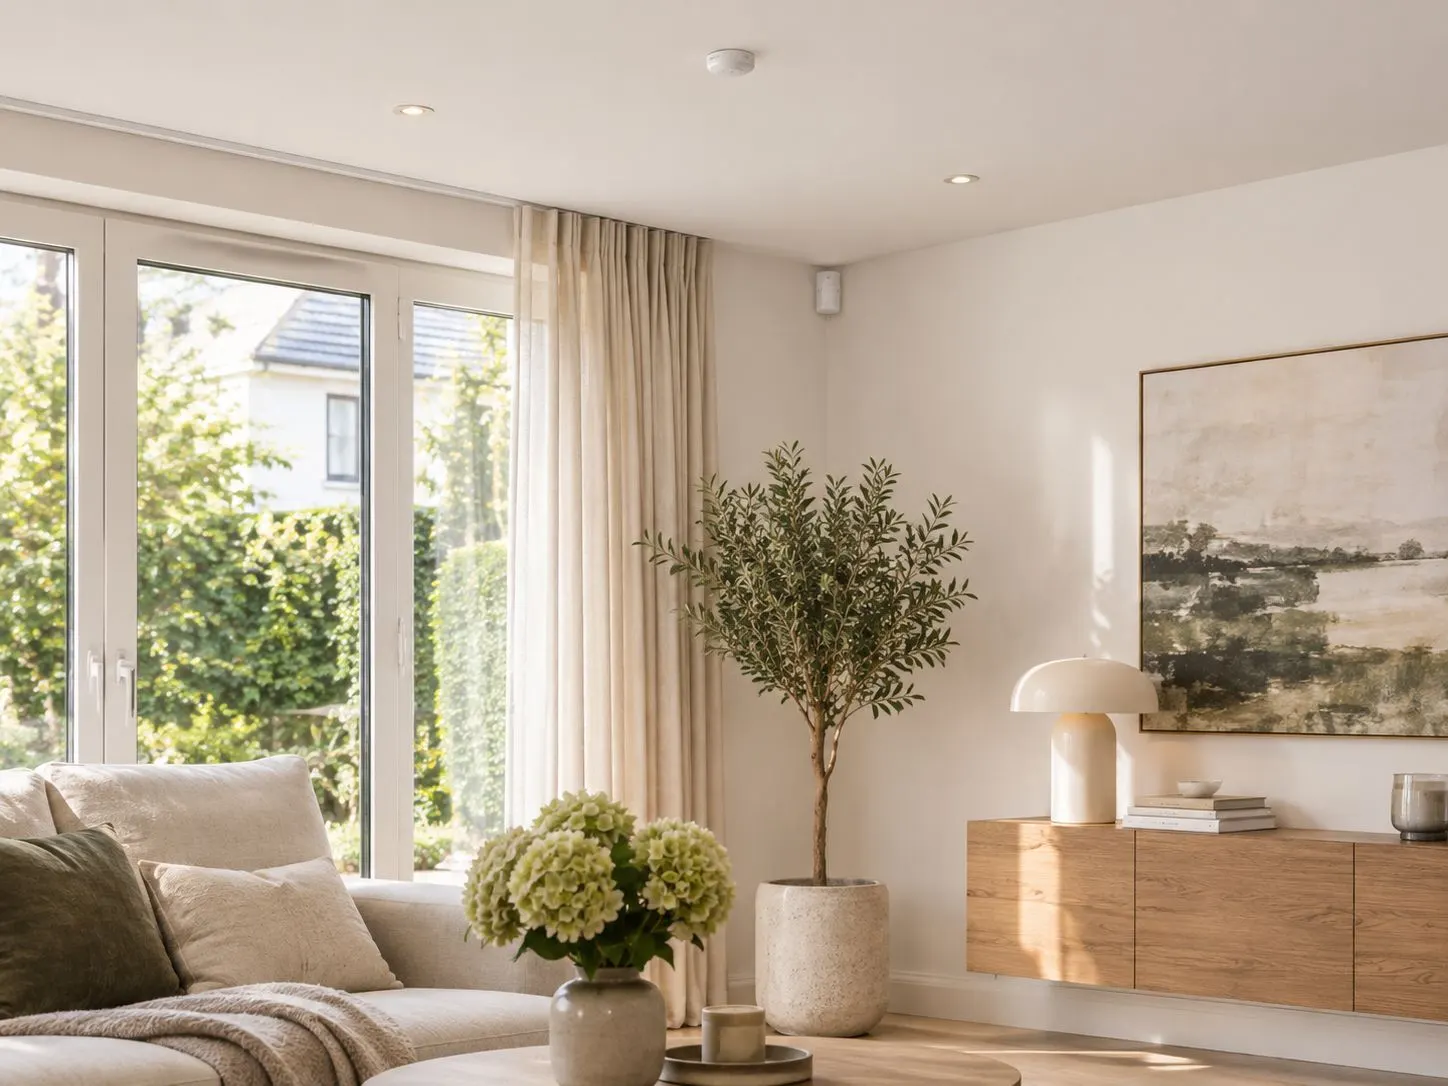

Security usually gets added to a house in the last week of a renovation, when the walls are painted and someone remembers the alarm. Then a sensor goes where it fits instead of where it should, a hub ends up on the hall shelf with its power lead trailing across the skirting, and a white detector sits against a dark wall. Planning it earlier costs almost nothing and avoids all of that.
Below is how I’d fold security into a renovation, stage by stage, using the Ajax home security system as the worked example.
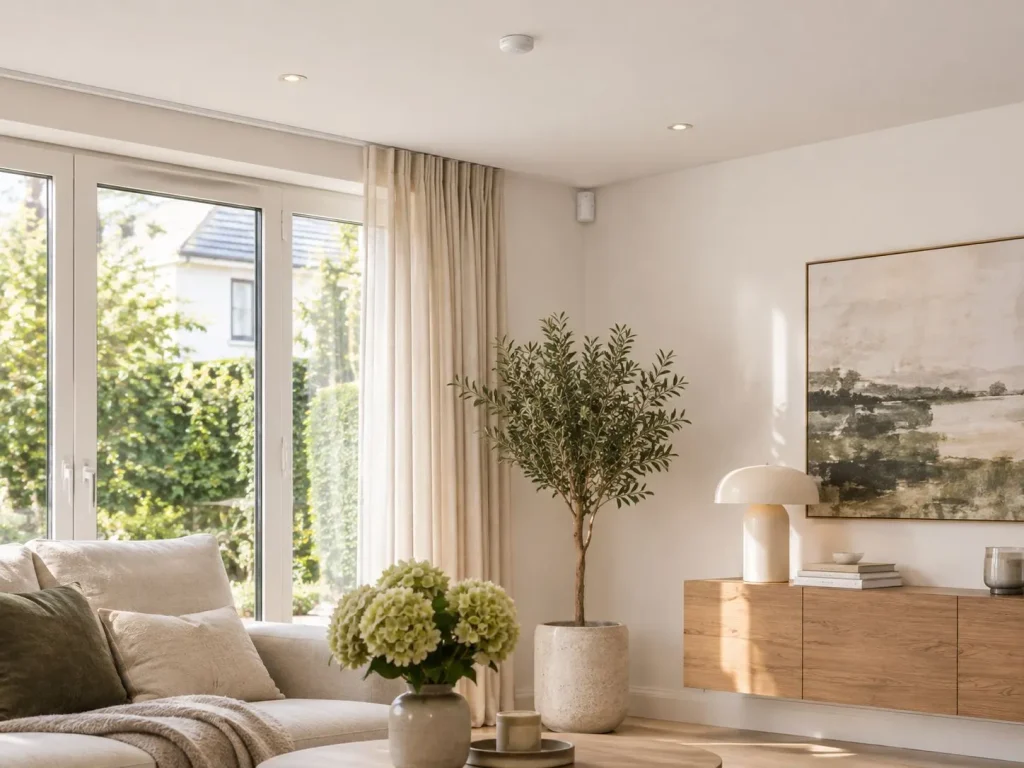
Put it in the drawings
The best time to decide is while the plans are still being drawn. Add a short security layer to the drawings: external doors, ground-floor windows, the room where the hub lives, the ceiling positions for smoke detection, and any spot where a leak could do damage. Your electrician and joiner then know what is coming. It also helps to agree early on one sensor color, white or black, so the devices read as part of the scheme.
Wired or wireless, decided while the walls are open
An open wall is the one moment when running cable costs next to nothing. Wired systems exist, and Ajax makes a wired range as well, so if you are already chasing cables for lighting and data, it is worth asking your installer what the extra runs would cost. For most homes, though, wireless is the sensible default. Radio sensors need no cable at all, and you can change the layout later without reopening a finished wall.
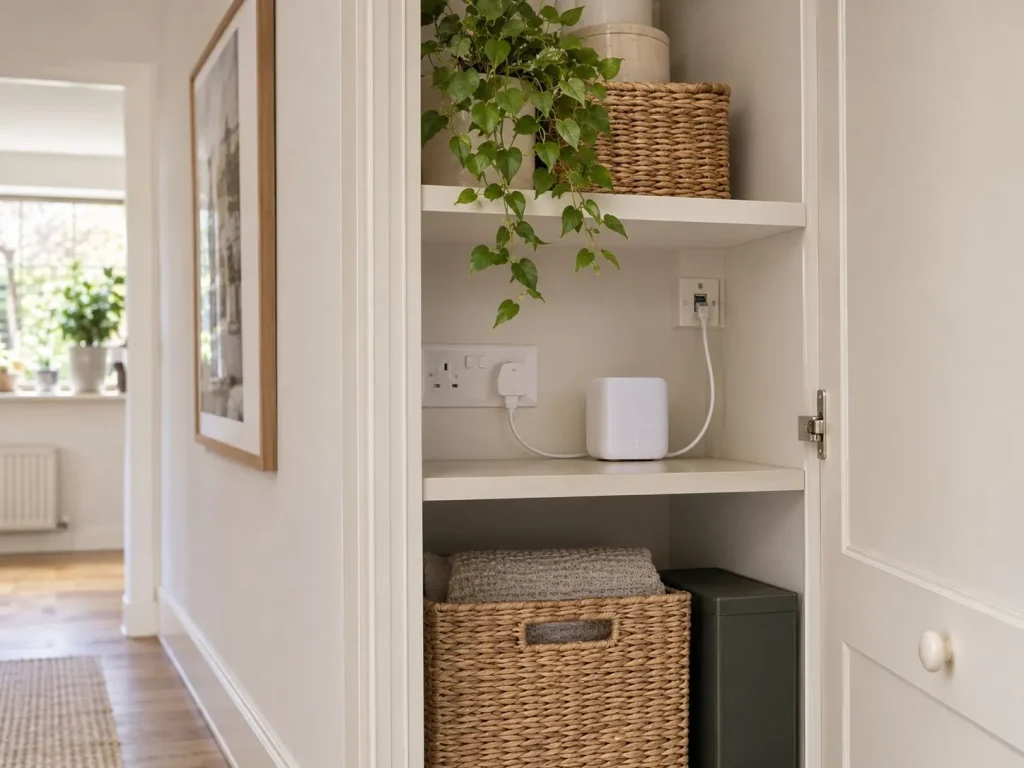
Whichever you choose, two things are worth doing now. Put a power socket and a network point in the cupboard where the hub will sit. The Hub 2 Plus connects by Ethernet, Wi-Fi and two SIM cards, and it carries on for up to 15 hours on its own battery during a power cut. A cupboard with a socket and a cable is a better home for it than a shelf in the hallway.
First fix: what to do before the plaster goes on
Before boards and plaster, check the wall and ceiling positions for any wired devices, and make sure there is a backing point where a camera or siren will be fixed. If cameras are in the plan, run the network cable to the outside now. Pulling it through a finished facade later is the expensive bit.
Leak protection also belongs at this stage in your thinking. Decide where the kitchen units, washing machine and boiler go, and mark where a LeakProtect sensor will sit on the floor. It needs no fixings, but it is far easier to place before the base units are in.
Second fix: devices that disappear into the finish
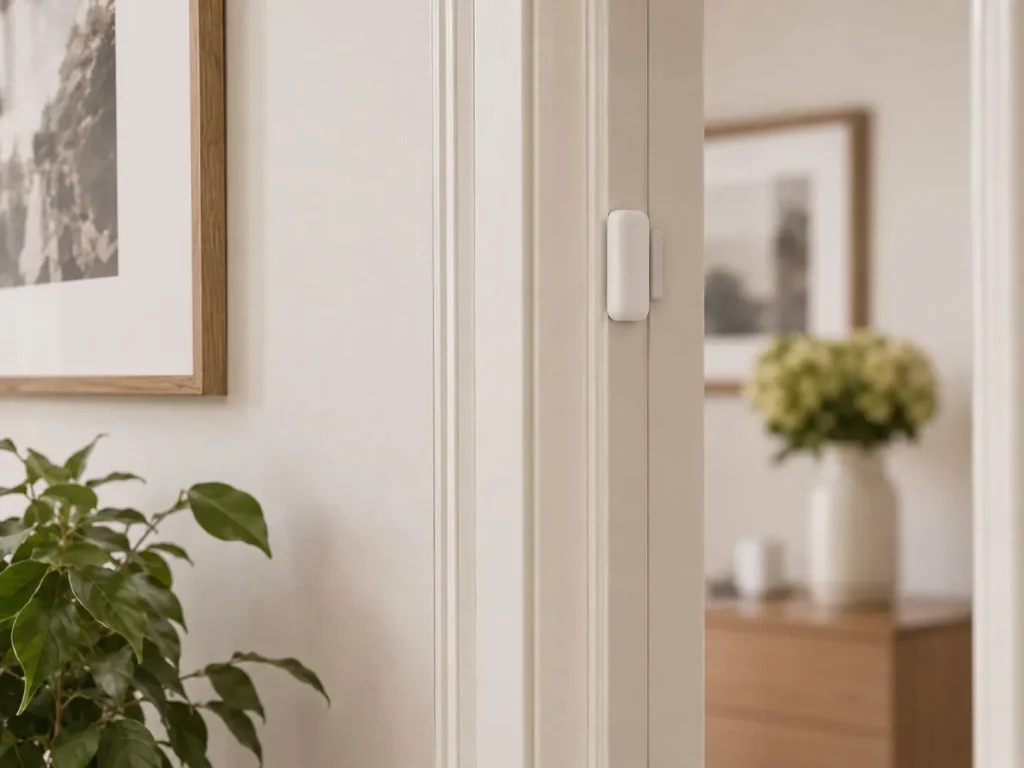
Once the decorating is done, the small stuff goes on. DoorProtect is a two-part sensor, one half on the frame and one on the door, with a battery rated for up to seven years. It can be fitted on the inside of the frame where it is hard to see. Match the color to your joinery, and it vanishes.
For rooms with a lot of glazing, such as an extension with bifold doors, GlassProtect listens for breaking glass, and one unit can cover several panes. That keeps the number of devices on show down.
For motion detection, MotionCam sits high in a corner and sends a few photos to your phone when it triggers, so you can see what set it off. Plan where the light fittings, vents and detectors go on the ceiling as one layout, so they do not end up fighting each other. FireProtect 2 covers heat, smoke and carbon monoxide in one unit, which cuts down the number of round white discs on the ceiling. Check the fire alarm requirements for your building, because a connected detector adds a phone alert but does not replace compliance.
Cameras and the facade
Outdoor devices are the ones that show. Mount MotionCam Outdoor or a BulletCam where it covers the approach without competing with the architecture, and keep it away from architectural features such as a carved lintel or a clean brick return. Decide camera positions at the same time as external lighting, since the two should work together at night.
A short checklist
- Add security positions to the drawings before first fix
- Leave a socket and a network point in the hub cupboard
- Run outdoor camera cable before the facade is finished
- Place leak sensors before the base units go in
- Choose one device color to suit the interior
- Test every sensor and check each alert reaches the right phones before the builders leave
You do not have to install everything during the build. A hub, door contacts, and a leak sensor are enough to start, and the rest can be added later without touching the walls. What matters is that the cupboard, the cables, and the sensor positions were decided while the house was still a building site.