

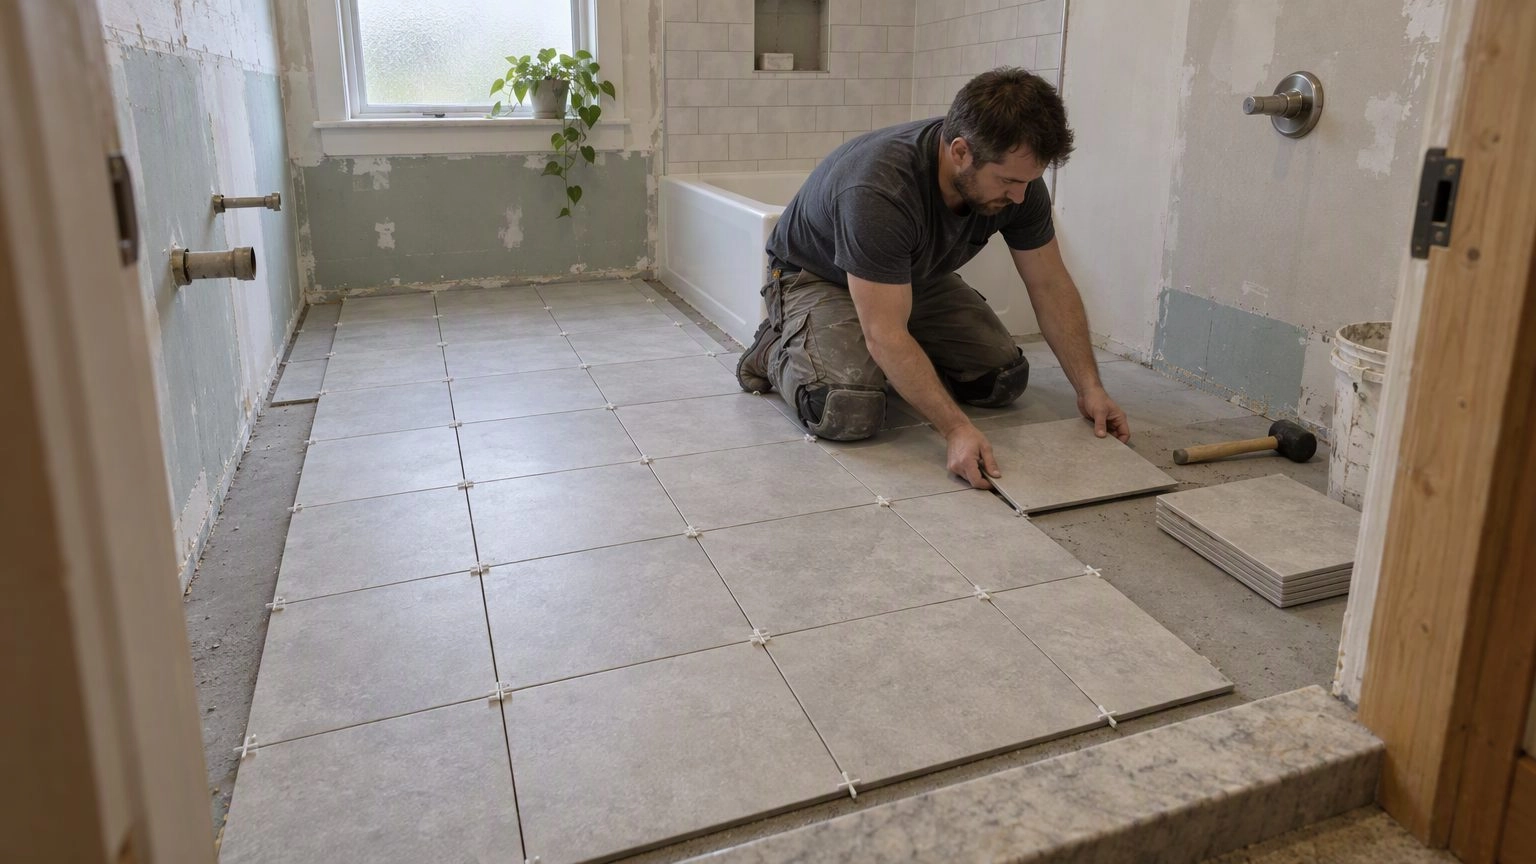

When you see a skinny sliver of tile crawling along a wall, you are looking at a layout someone guessed at rather than measured. Real rooms fight back: walls taper, thresholds sit in recesses, corners run a degree and a half out of square. Any bathroom floor tile idea has to survive all of that. Run a setting-out test first. Model the boundary as it actually exists, work out the tile-and-grout module, and pit several starting points against each other before you settle on a pattern.
The stakes are real. Fixing a paper layout costs you nothing. Ripping out tile at the doorway costs plenty.
Bathroom floor tile ideas begin with a measured boundary
Model the room that will actually be tiled
The room is probably not rectangular, so throw out that assumption. Trace the finished floor perimeter, including any tapered walls and threshold recesses. Always measure between finished surfaces, never bare framing. Note the corner angles and where walls deviate. Where tile will not run underneath something permanent, such as a built-in cabinet footprint, subtract that obstruction. Checking both diagonals will expose out-of-square corners, and once you have your coordinate system, locate the doorway within it. That outline should include even a threshold recess too narrow to take a full tile.
If you work parametrically, hold that measured perimeter as a closed polygon, then intersect every grid you propose against the same boundary. You get individual edge pieces with real dimensions, not a shaded preview you have to squint at. A scaled drawing or CAD array will do the job just as well.
Handle the shower floor on its own terms. That same Houzz study found tile on 87% of upgraded shower floors, with 65% of those homeowners picking formats between 1 and 4 inches. Small pieces bend more easily with drainage slopes, but the joints around the drain still need careful planning.
How to plan bathroom floor tile spacing and starting points
Build the module with actual dimensions
Work from the tile as measured, plus the grout width you have chosen, and ignore the nominal size on the box. Rectangular tiles need each axis calculated separately. Keep the perimeter movement gaps out of the tileable span.
Divide each clear dimension by its module and look hard at the remainder. Once you subtract the whole tiles and all the joints between them, you can calculate the cuts waiting at the opposite walls. Halving the remainder is not enough. For instance, a 60-inch span with 11.75-inch tiles and 0.125-inch joints fits four full tiles between two 6.1875-inch edge pieces.
Test the origin instead of assuming the center is correct
Centering is one option, not the only option. As you explore different bathroom floor tile ideas, test a centered grid against a doorway-aligned origin, then a wall-controlled origin if that wall is straight and visually dominant. Test both a tile center and a grout joint on the chosen centerline, because they produce different grids. Save each candidate’s origin coordinates so a single changed measurement does not send you back to eyeballing layouts beside the bathroom entrance.
Rank each option by its narrowest cut and visible symmetry, including cuts around fixed objects. Set a minimum cut width with your installer, and reject failing options before you touch the doorway alignment.
Once the pattern passes the geometry test, compare material, waste, and installation implications before freezing the module. If you tell your installer “best judgment here, please,” make the agreed minimum cut width a firm limit. Rerun the layout if your preferred tile changes the module.
Compare straight, offset, and diagonal arrangements
Pattern choice changes the cutting sequence even when tile dimensions and room boundaries stay the same.
| Layout | Cut behavior | Best use | Main check |
| Straight grid | Produces predictable rows and comparable cuts on opposing edges | Usually the most controllable option for a small bathroom | Check that centering does not create thin cuts on both sides |
| Offset | Changes edge conditions on alternating rows | Useful when staggered joints suit the tile proportions | Evaluate both row types rather than checking one representative row |
| Diagonal | Creates triangular perimeter pieces and requires more cutting | Suitable when the rotated grid improves the room’s visual geometry | Reject fragile corner pieces and account for greater waste |
A straight grid is generally the safest starting point for a compact bathroom, since it simplifies alignment and perimeter cuts. Offset and diagonal layouts can work when their edge pieces stay large enough to cut safely at the threshold.
How to avoid awkward tile cuts in a bathroom
Irregular walls need minimum-cut checks
Keep the main grid square to the dominant visual axis and scribe perimeter pieces to the measured wall. Check every tapered piece at its narrowest point, not its average width. A usable wide end can hide a fragile tip.
Shift the entire grid by a fraction of a module and trim the tile outlines against the measured boundary again. Rotating the whole grid to chase a minor deviation is a mistake until you have checked the effect at every major wall.
Fixtures and wet rooms change the priority
Treat toilets and vanities as clearance checks, not separate origins. Prioritize the visible cuts around exposed plumbing penetrations. Keep narrow pieces away from thresholds and outside corners, especially beside exposed fixture edges.
Houzz’s 2024 coverage put wet rooms at 13% of upgraded bathrooms. Whatever the finish, test the grid across drainage slopes and transitions rather than treating each waterproofed zone as an unrelated rectangle. Put a cut or grout joint at every slope break so no rigid tile bridges adjacent sloping planes.
Popular materials and floor tile designs for 2026
Current patterns still need geometric discipline
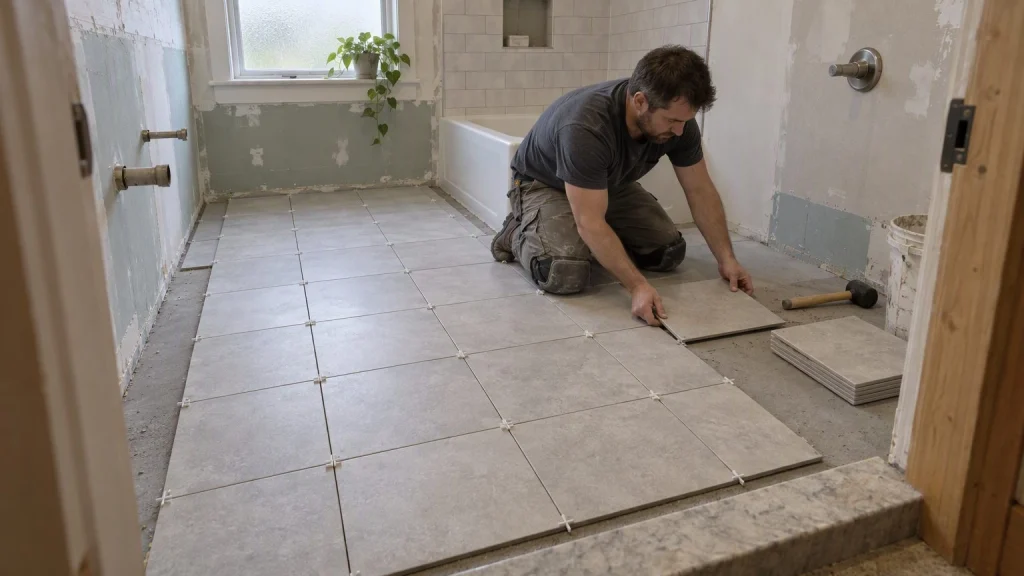
Grid and brick remain familiar bathroom styles alongside decorative small-piece patterns. The Houzz study recorded mosaic patterns on 19% of upgraded shower floors, with rectangles at 28%, hexagons at 23%, squares at 22%, and brick and grid at 17% each.
In 2026, restrained grids and small-piece geometric layouts pair well with stone-look surfaces. That is design guidance, not a fresh survey finding. Even a fashionable pattern fails beside a fragile threshold cut.
Porcelain and ceramic application ratings
Floor-approved ceramic can suit bathrooms and is often easier to cut than porcelain. Porcelain is denser and absorbs less water, but check its finish and installation requirements for the intended application. Never specify wall-only tile for a floor without explicit manufacturer approval.
In that same study, 57% of renovating homeowners selected nonslip flooring. Compare product-specific slip data, because matte and textured surfaces do not deliver identical wet-slip performance.
Light floors and dark walls are design choices, not rules
Your floor does not need to be lighter or darker than the walls. Light tiles can increase perceived brightness; dark tiles increase contrast and can highlight pale grout or residue. Test the tile color and grout contrast under the room’s actual lighting.
Freeze the grid only after the worst cut passes
The winning layout is not automatically the most symmetrical or decorative option. Choose the arrangement that preserves usable edge pieces, respects dominant sightlines, and works around the measured boundary rather than looking balanced inside an idealized rectangle on a screen. Approve the pattern only after its worst exposed cut clears the agreed minimum, and the installer has verified the setting-out dimensions on site. Record the origin, module, joint width, and critical perimeter cuts in a dimensioned setting-out drawing. That drawing is what turns a good layout into an installed one.